
Browse and control Roon
Choose a zone, browse your library, manage the queue and control playback from the touchscreen.
 Download v1.1.1
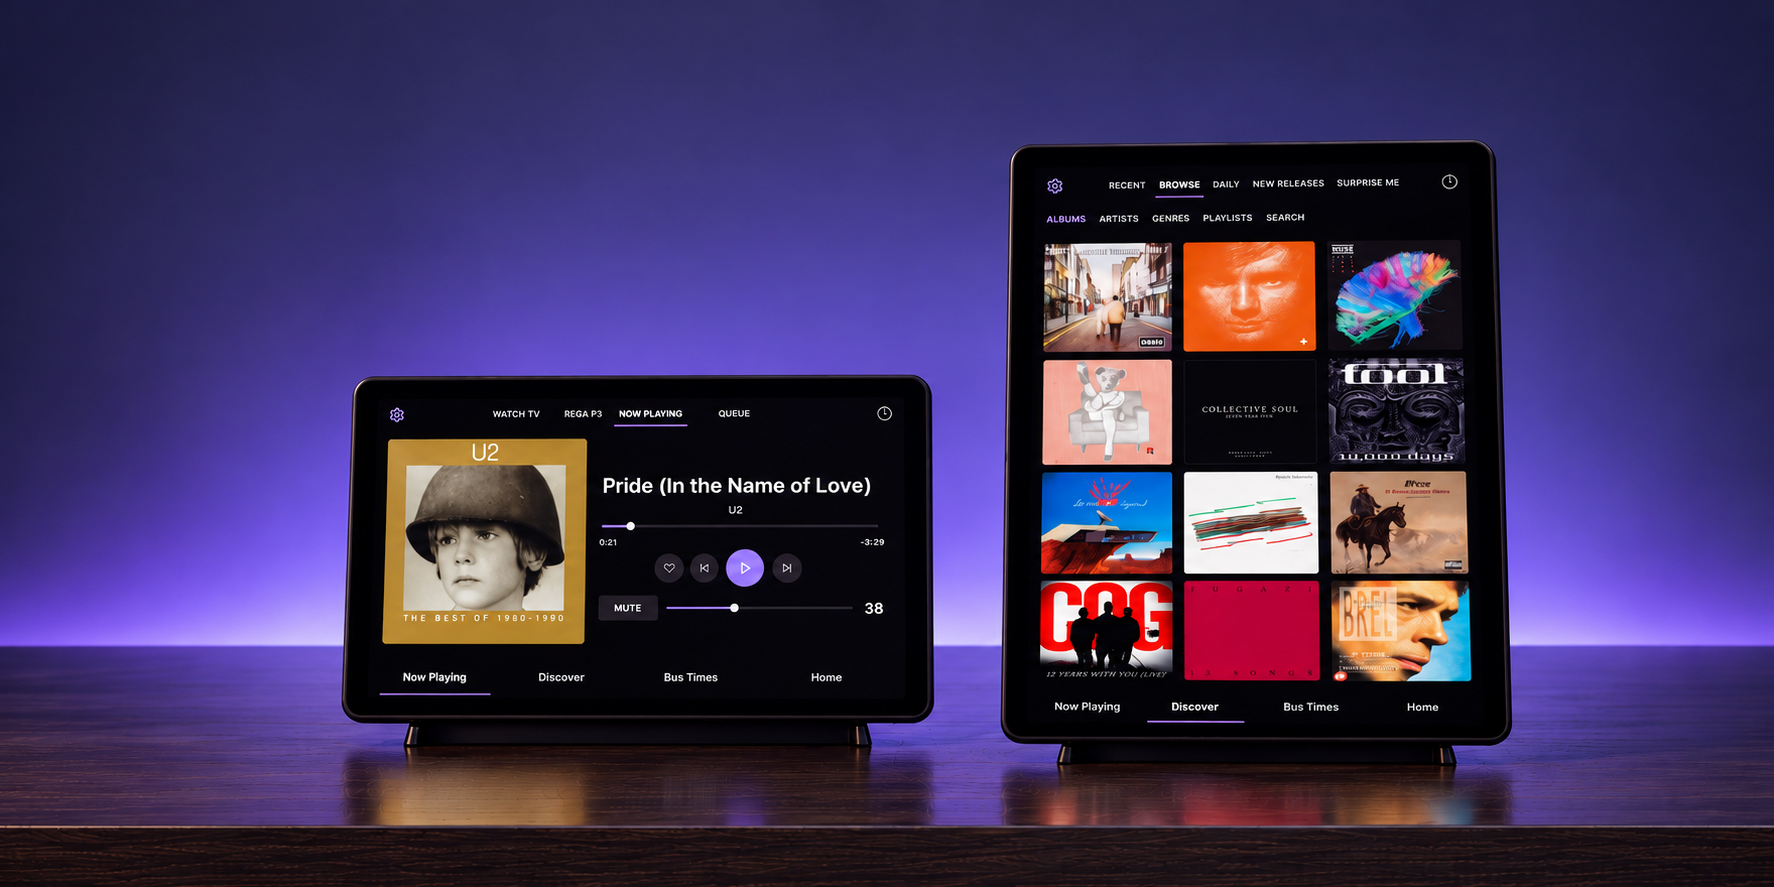
An independent touchscreen for Roon
Turn a Raspberry Pi into a dedicated music display. Browse your library, discover new favourites and control playback, without reaching for your phone.
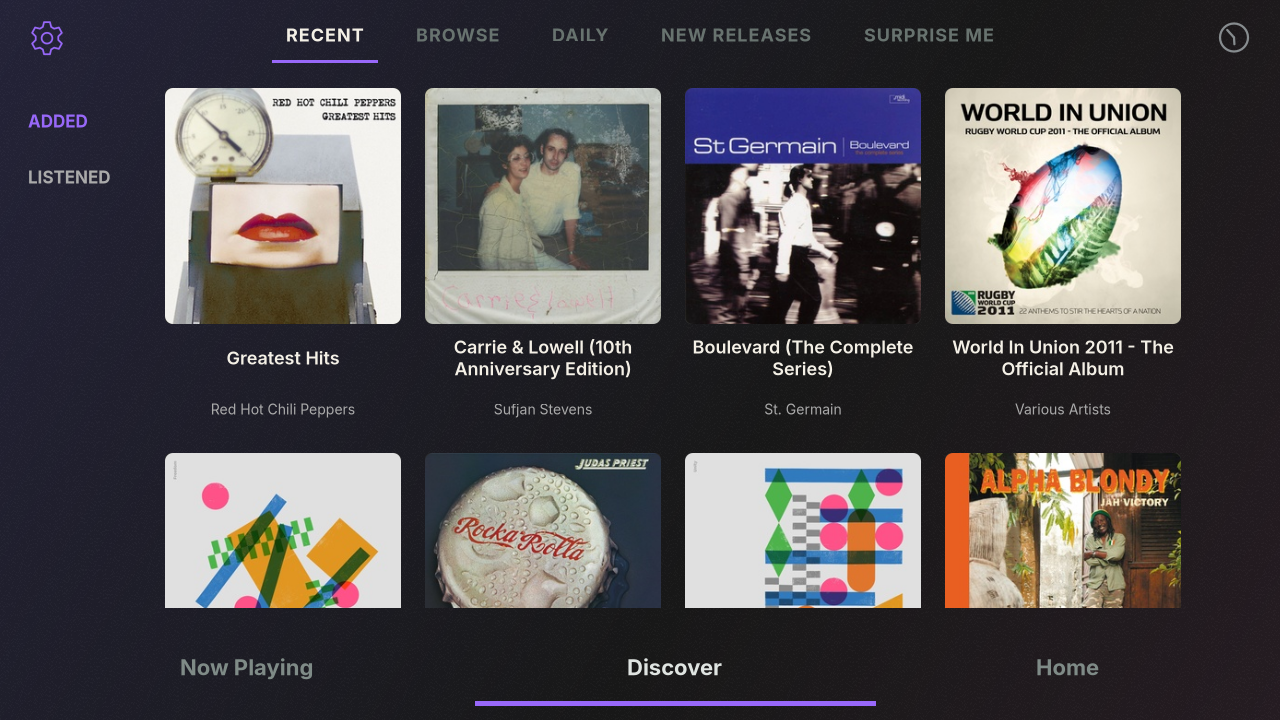
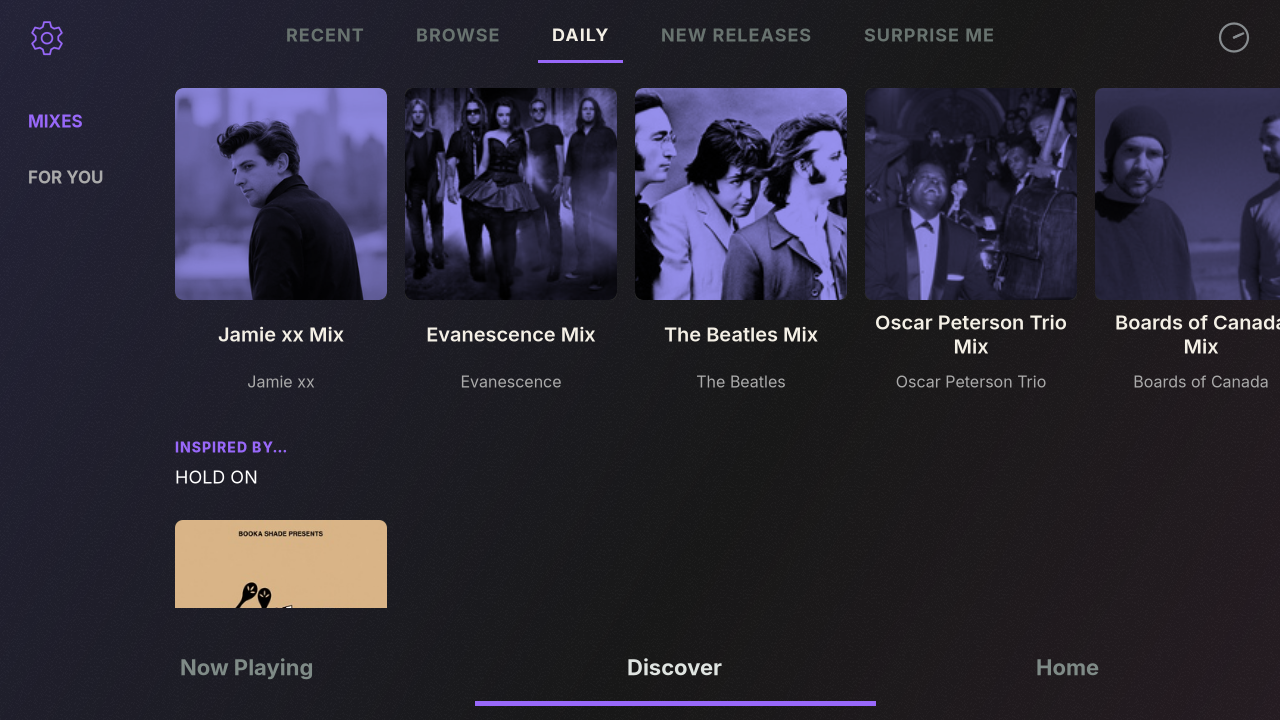
Start with what is playing, move through your library and discover what to hear next. Select a feature to see it on RoonDeck.
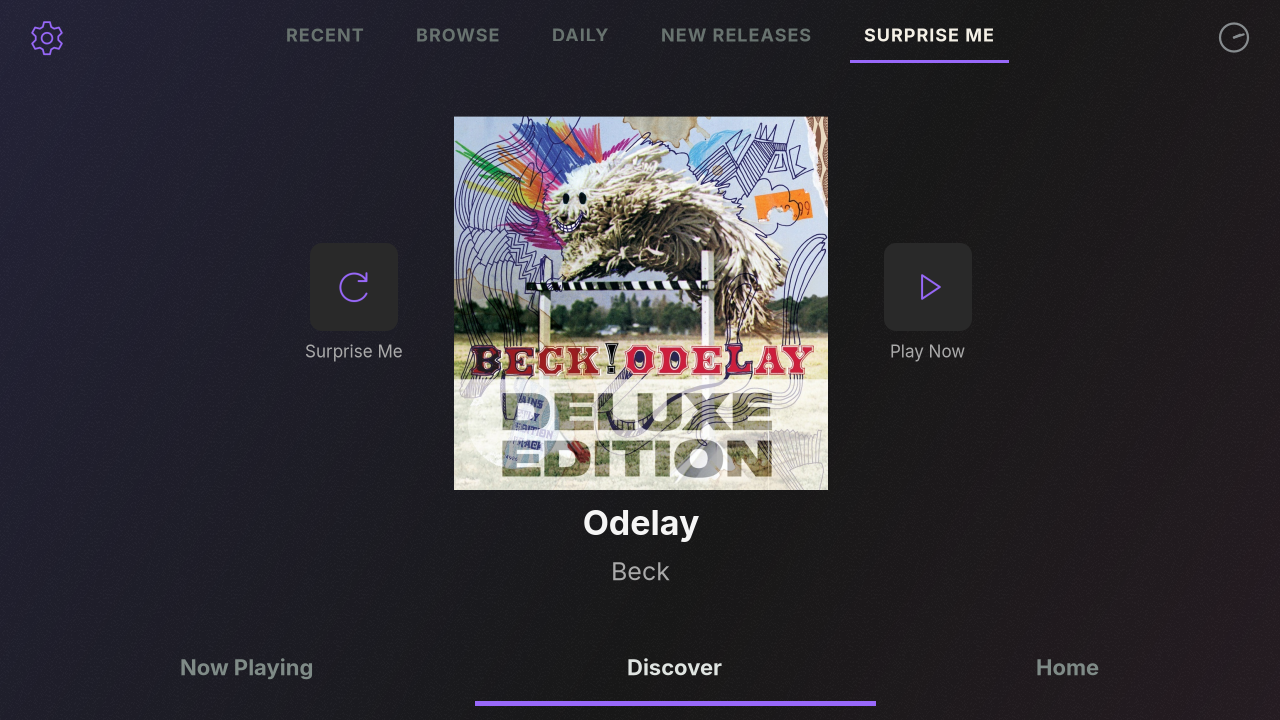
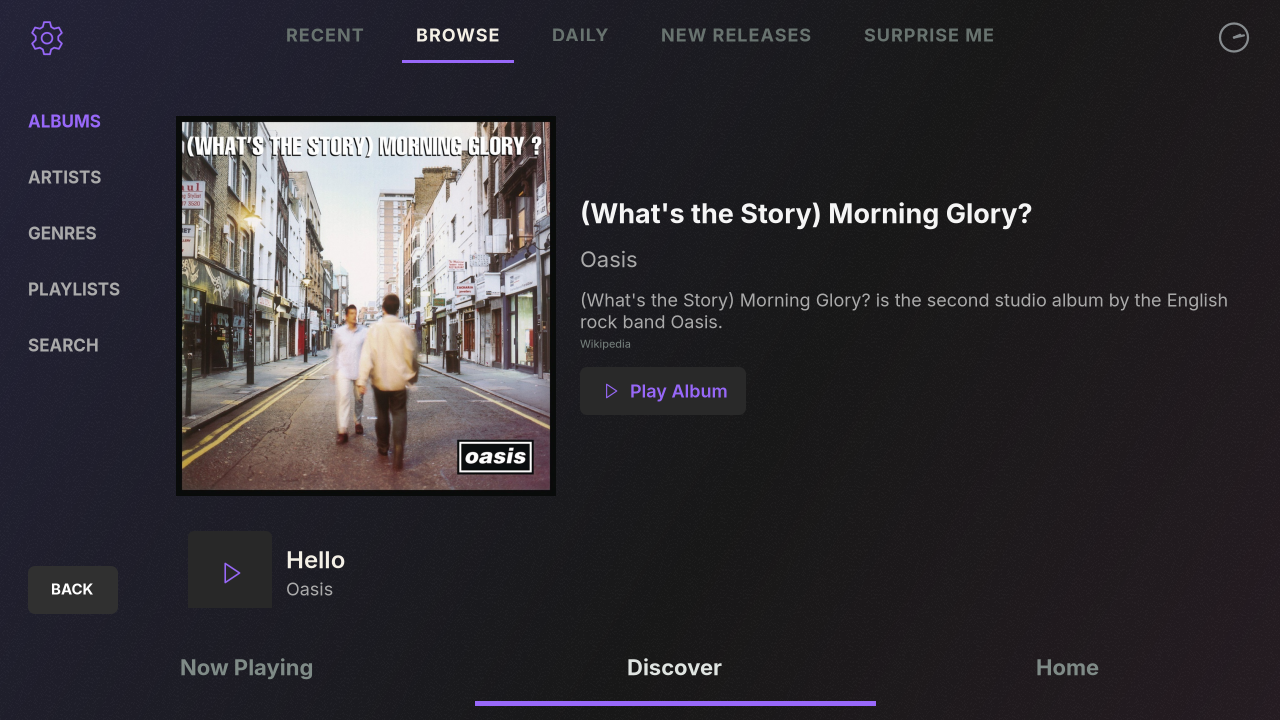
Playback & audio
RoonDeck can control Roon and BluOS players. The same Pi can also become a Roon Bridge or AirPlay receiver.
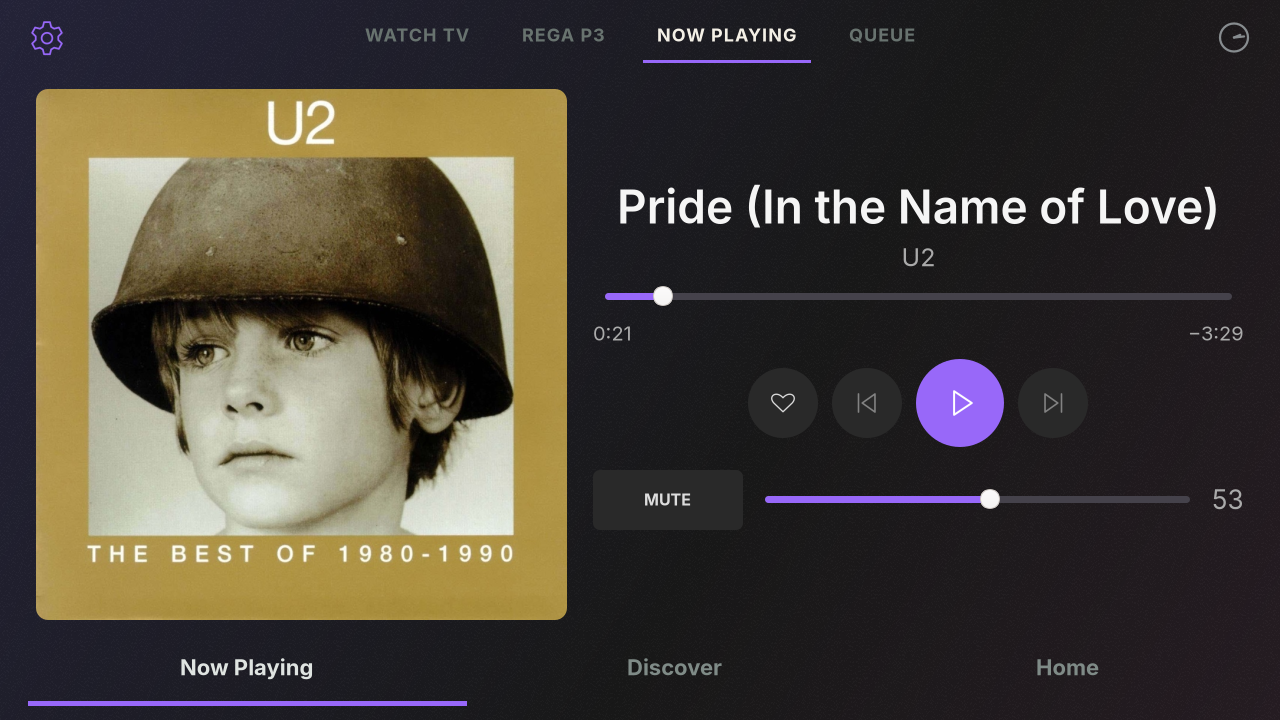
Choose a zone, browse your library, manage the queue and control playback from the touchscreen.

Find compatible players on your network, select the player, switch inputs, control power and use it alongside Roon playback.
Install Roon Bridge to make the Pi appear under Roon Settings → Audio as a RAAT endpoint.

Install Shairport Sync to make RoonDeck available to Apple devices as a classic AirPlay audio destination.
A little extra
A few useful extras for your Raspberry Pi touchscreen.
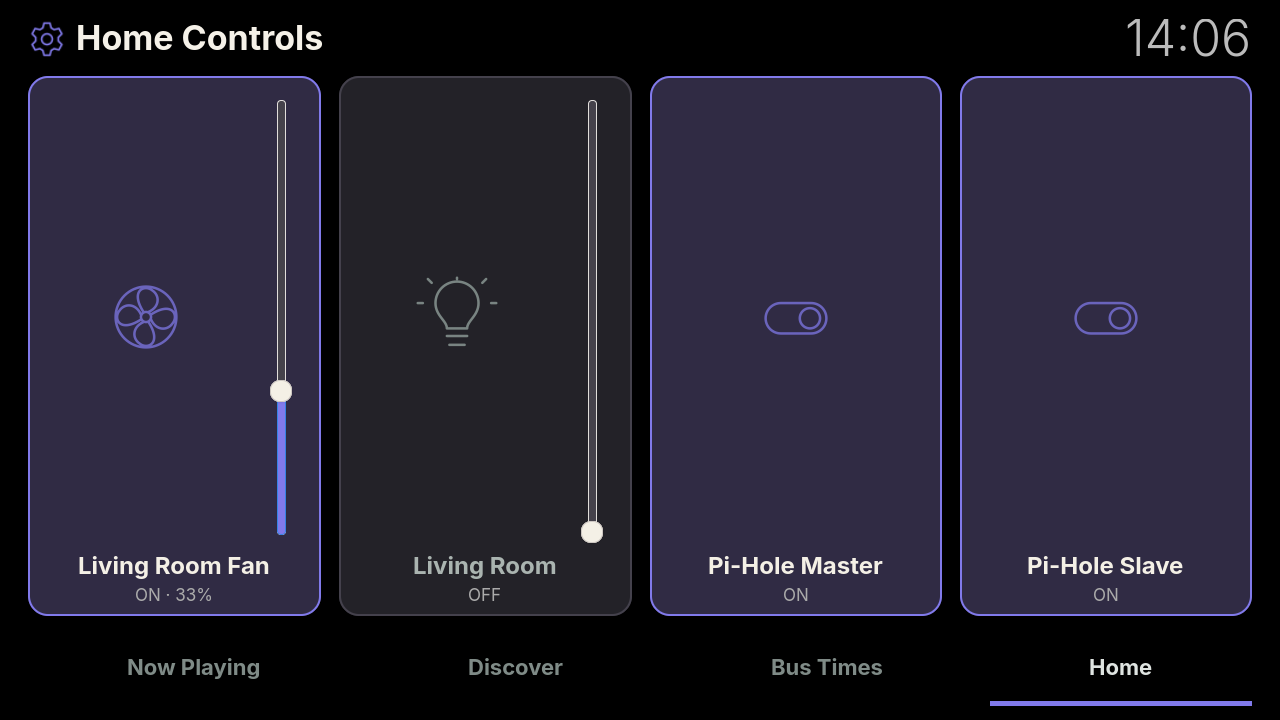
 Home Assistant
Control selected lights, switches and connected devices.
 Netdata
Monitor system performance, resource usage and device health.
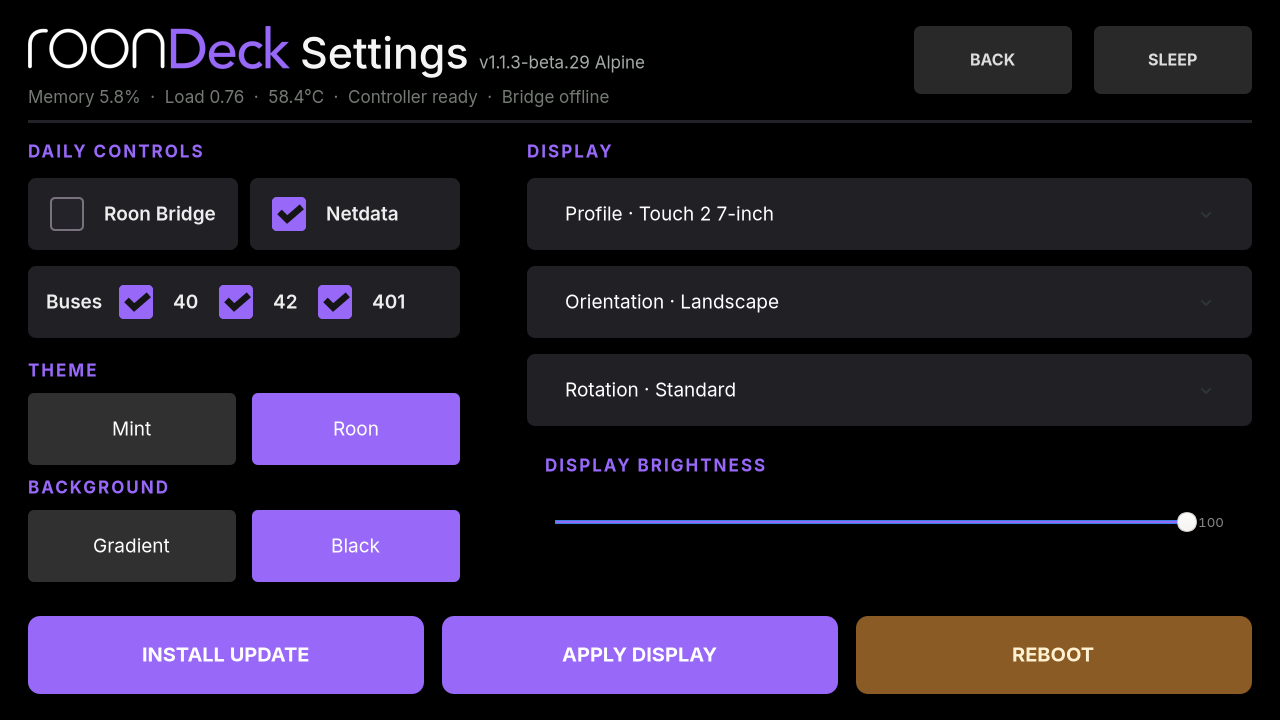
Manage brightness, orientation, themes, optional services and software updates from the touchscreen or web interface.
What you need
Choose your screen and Raspberry Pi, write the Alpine image to a microSD card, then finish setup on the display.
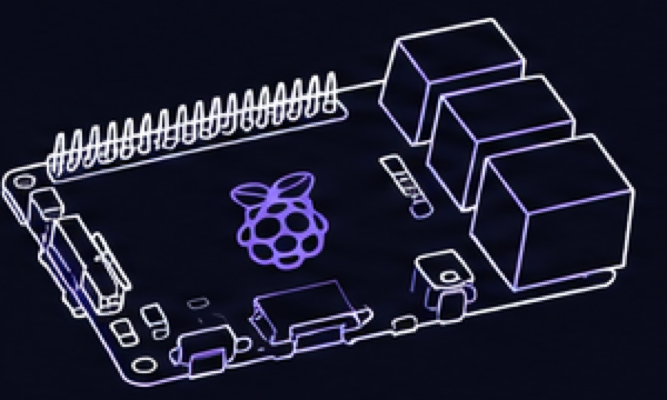
Raspberry Pi 4 or 5.
Pi 4 or newer recommended.
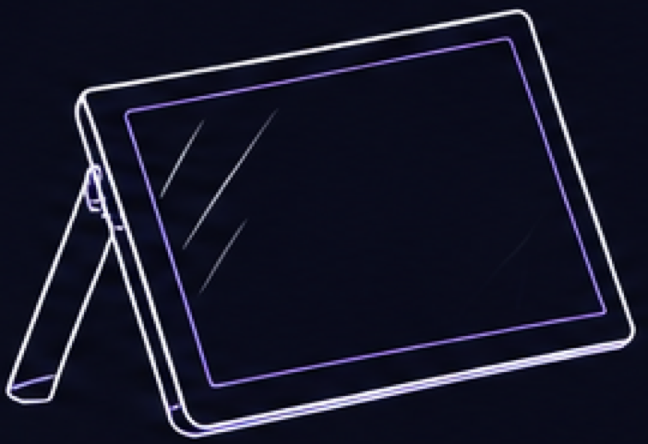
Official Raspberry Pi touchscreen.
Touch Display 2, 7-inch or larger, recommended.
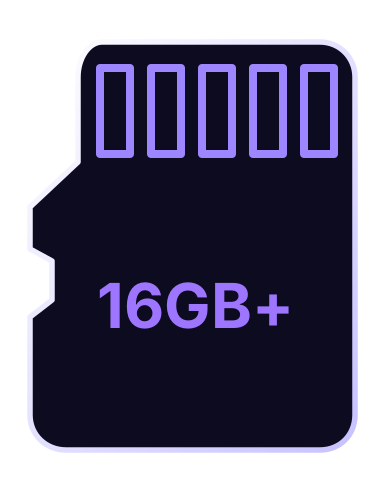
16GB or larger
recommended.

A working Roon Server and active subscription.
Visit roonlabs.comRoonDeck is optimized for low-power Raspberry Pi hardware and minimal memory use, while still delivering responsive browsing, playback control and display performance.
Get started
Five straightforward steps take RoonDeck from an image file to a dedicated music touchscreen.
Get the stable compressed RoonDeck ARM64 image. The same image supports Raspberry Pi 3, 4 and 5.
Use Raspberry Pi Imager or balenaEtcher to write the downloaded .img.gz file to a 16GB or larger microSD card.
Check the recommended hardware, insert the card, connect the touchscreen and network, then apply power. Leave the first boot running while RoonDeck prepares the card.
Choose the display and orientation, connect Wi-Fi if needed, set the timezone, then choose optional Roon Bridge, AirPlay and Netdata services.
Enable RoonDeck in Roon Settings → Extensions, choose the zone you want to control and start browsing.
Use the official power supply for your Pi model. Ethernet is easiest for first setup, although Wi-Fi can be configured on the touchscreen. Raspberry Pi Imager can decompress the image while writing it.
After setup, open RoonDeck Settings → System → Software to install newer stable application updates when available.
Confirm the Pi and Roon Server are on the same local network, then check Roon Settings → Extensions.
Select the exact display model and orientation in RoonDeck Settings, apply the change and reboot.
Enable Roon Bridge in RoonDeck Settings, then enable the Pi output separately in Roon Settings → Audio.
Capture the display from web Settings and include it when opening a GitHub issue.
Open an issue →Suggestions & issues
Found a problem or have an idea for a useful feature? Send a short note. RoonDeck is free software maintained in spare time, so messages are read but individual support or a reply cannot be guaranteed.